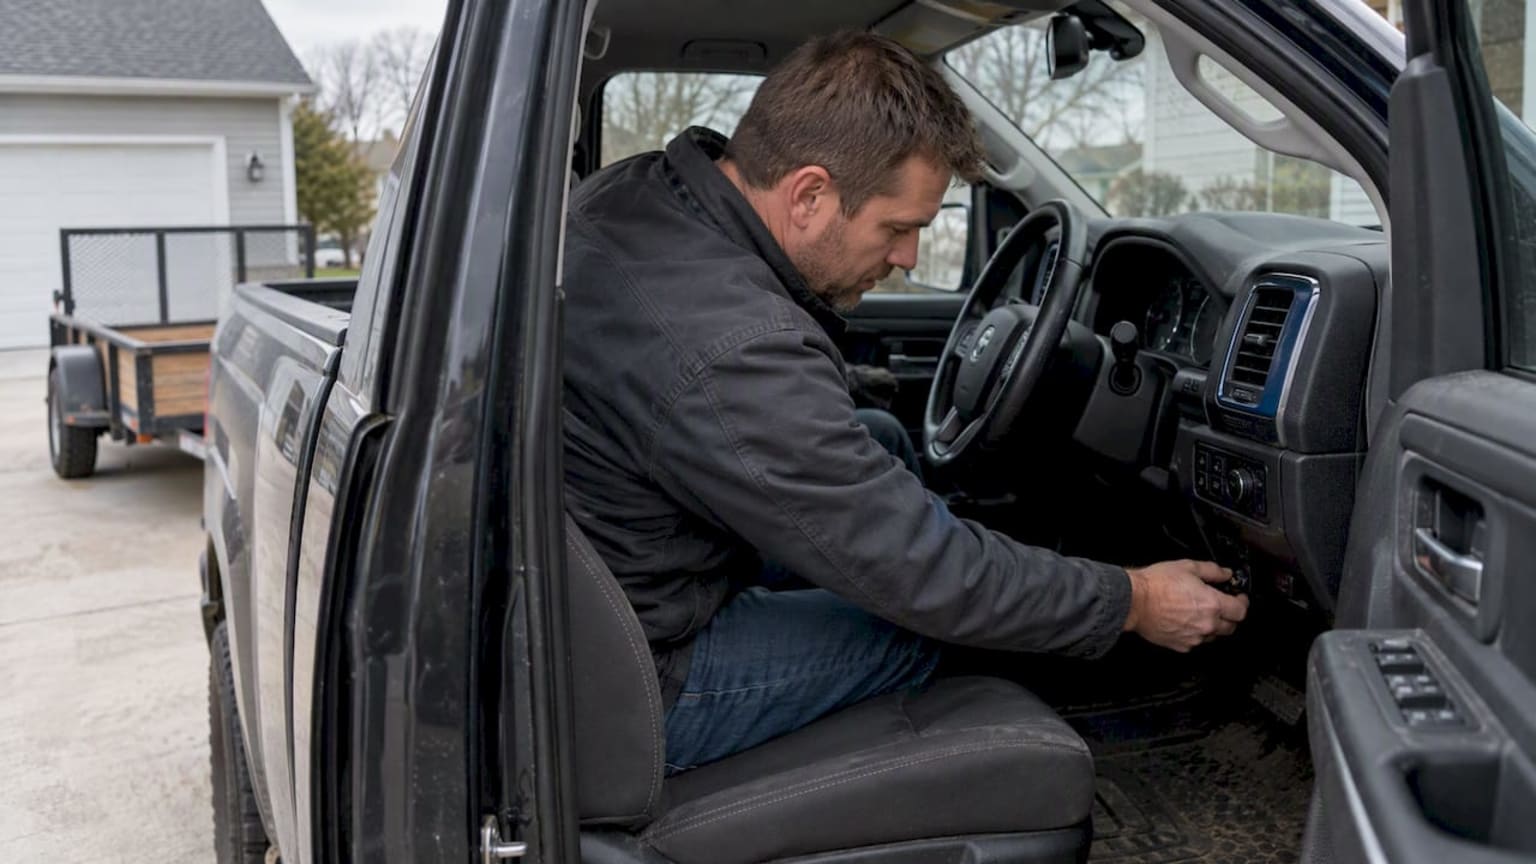
20 Minute DIY for Truck Owners: Integrated Trailer Brake Controller
An integrated trailer brake controller is the vehicle’s built-in module that applies trailer brakes in coordination with the truck’s braking system. You should rely on it whenever you tow a trailer with electric brakes, since it delivers smoother, more consistent stops than guessing at manual brake pressure. The main thing to remember is simple: trust the system for everyday towing, but check its settings and signal output before every trip.
TL;DR:
Factory-integrated trailer brake controllers automatically save settings for each trailer profile and communicate with ABS and stability systems to improve braking consistency.
Calibration involves low-speed test stops to fine-tune the gain setting, with heavier or downhill trailers typically requiring higher brake force.
Wiring for factory controllers is usually present in trucks with a tow package, but retrofit installation demands additional wiring work and OEM parts to avoid electrical issues.
Troubleshooting weak or inconsistent trailer brakes starts with simple checks like fuse, connector, and voltage tests before considering more complex wiring or module repairs.
Manual override is best used for trailer sway correction or downhill braking, but should be tested at low speeds before relying on it during towing.
Libertychryslerdodgejeep
libertychryslerdodgejeep.com
Keep Your Trailer Brakes Ready
Liberty Chrysler Dodge Jeep Ram provides professional vehicle service to help keep your truck and trailer systems working properly.
Table of Contents
Factory-integrated vs. aftermarket controllers: pros, cons, and when to choose either
How to calibrate your integrated trailer brake controller step by step
Does your truck have the wiring for an integrated controller?
How integrated trailer brake controllers work
An integrated trailer brake controller sits inside the truck’s electrical architecture, not bolted under the dash as an aftermarket box would be. It reads signals from the vehicle’s brake pedal, the CAN bus, and in many trucks the ABS and stability control modules, then sends a calculated voltage to the trailer’s electric brakes through the 7-way connector.
The core job is translating “how hard the driver is braking” into “how much power the trailer brakes should get.” Three control strategies handle that translation. A time-based controller ramps up trailer brake voltage on a fixed curve once it detects braking, regardless of how hard you’re actually pressing the pedal. A proportional controller reads the truck’s actual deceleration rate, usually from an accelerometer or brake pressure sensor, and applies trailer braking that matches it in real time. Pressure-based systems, common in modern integrated setups, pull brake line pressure or brake pedal travel data directly off the CAN bus instead of using a separate sensor. Some factory systems lean on brake pedal input or CAN signals rather than the inertial sensing older aftermarket units used, which changes how the system reacts to sudden stops versus gradual ones.
Because the controller is wired into the same network as ABS and electronic stability control, it doesn’t operate in isolation. When the truck’s ABS detects wheel slip, that information can influence how the integrated controller modulates trailer brake output, in theory reducing the odds of the trailer wheels locking before the truck’s do. This is also why a stability or ABS fault on the truck side can show up as inconsistent trailer braking. The systems are connected, so a problem in one often surfaces as a symptom in the other.
What this means practically: calibration isn’t a cosmetic setting. The gain value you dial in determines how aggressively the controller converts your braking input into trailer brake voltage, and getting it wrong doesn’t just feel bad, it can create a mismatch between how fast the truck is slowing and how fast the trailer is slowing. That mismatch is where sway, trailer push, or premature trailer brake lockup tend to start.
Factory-integrated vs. aftermarket controllers: pros, cons, and when to choose either
A factory-integrated controller lives in the dash or instrument cluster menu, which means no separate box to mount, no extra wiring to route, and settings that save automatically to a trailer profile in the vehicle’s memory. You pick a saved trailer, the truck remembers the gain and mode you used last time, and the whole system talks to ABS and stability control without you doing anything extra. For most owners towing regularly with a vehicle built for it, that convenience is hard to beat.
Aftermarket controllers still make sense in specific situations. Older trucks without a factory-installed module obviously need one. So do vehicles where the owner wants manual control options that go beyond what the factory menu offers, or where the factory system’s gain range doesn’t suit an unusually heavy or unusually light trailer. Some aftermarket units also offer a physical lever or slider, which a subset of drivers simply prefer over menu-based adjustments.
The trade-offs run both directions. Factory integration generally costs nothing extra if the truck came equipped with it, since it’s baked into the price of the vehicle. Aftermarket units carry a separate purchase and installation cost, plus the labor or DIY time to run wiring to the brake pedal switch or a tap point. On the other hand, aftermarket controllers can be moved from vehicle to vehicle, which factory-integrated systems obviously cannot. If you keep the same truck for years and tow the same handful of trailers, factory integration wins on simplicity. If you swap trucks often or need a controller that travels with you, aftermarket remains the practical choice. Either way, matching the controller setup to your towing capacity and trailer weight matters more than which type of controller you’re running.
Where to find your integrated brake controller settings
Before you can calibrate anything, you need to find the menu, and that location varies by manufacturer. Most integrated systems put trailer brake settings in one of three places: the instrument cluster display, a central touchscreen infotainment system, or a dedicated towing menu accessed through steering wheel controls.
On Ford trucks equipped with the factory system, the owner manual walks owners through adjusting the integrated trailer brake controller mode via the instrument cluster display, with gain settings saved to vehicle memory so each trailer profile can be recalled later without re-calibration. Toyota trucks with a factory-integrated controller typically route the same adjustments through the multi-information display, with trailer brake gain shown as a numeric or bar-graph scale you adjust with steering wheel buttons. RAM trucks running Uconnect handle it through the touchscreen, usually under a towing or trailer menu where you select a saved trailer profile and adjust gain with on-screen sliders.
The exact menu names differ across brands, but the workflow is consistent: open the trailer or towing menu, select or create a trailer profile, set the gain or boost level, and confirm with a physical test stop. If you’re not sure whether your truck has an integrated controller at all, check the instrument cluster or touchscreen for a towing or trailer brake menu, and check the tailgate or driver’s door jamb for a trailer brake controller equipment sticker. Trucks without the factory module simply won’t show that menu option, which is your answer right there. If you’re shopping for a vehicle specifically because of its factory-integrated braking capability, it’s worth comparing options across our truck inventory before you buy.
How to calibrate your integrated trailer brake controller step by step
Calibration isn’t complicated, but skipping steps is exactly how owners end up with trailer brakes that grab too hard or barely respond. Work through this in order, and don’t skip the test stops.
Before you start, confirm the basics:
Check that trailer running lights, brake lights, and turn signals all function when plugged into the truck.
Verify trailer tire pressures match the trailer manufacturer’s specification.
Confirm the load is secured and weight is distributed evenly front to back, since uneven loading changes how the trailer brakes feel under hard stops.
Inspect the trailer brakes themselves, including magnets and brake shoes, if the trailer hasn’t been used recently.
Plug in the 7-way connector and confirm it’s fully seated, since a loose connector is one of the most common causes of inconsistent brake output.
Once the pre-trip checks are done, move into the actual calibration. Access your truck’s trailer or towing menu and either select an existing trailer profile or create a new one if this is a trailer you haven’t towed before. Choose the mode appropriate to your trailer type if your truck offers mode selection, since some systems differentiate between single-axle and tandem-axle trailers.
Start with a conservative gain setting, lower than you think you’ll need. It is recommended to begin low and work up rather than guessing high and backing off, since starting too aggressive risks a trailer wheel lock on your very first test stop. From there, perform a test stop at a low speed, typically around city driving speeds, on a flat, dry, open stretch of road or parking lot with no traffic behind you. According to etrailer’s guidance on trailer brake testing, a short low-speed test stop after calibration is the practical way to confirm the trailer brakes are applying correctly and that the trailer doesn’t lock up or feel disconnected from the truck’s braking.
Pay attention to what you feel. If the trailer seems to push the truck or you feel little resistance from the trailer at all, increase the gain slightly and test again. If the trailer locks up, skids, or you feel a jerk at the start of the stop, reduce the gain. Repeat this incremental process, small adjustment, test stop, evaluate, until the trailer brakes engage smoothly and proportionally with the truck’s own braking. Once you’re satisfied, save the profile under a name you’ll recognize, such as the trailer’s make or its typical cargo.
A few adjustments are worth making based on how you’ll actually use the trailer. Heavier trailers generally need higher gain settings since more mass requires more braking force to decelerate at the same rate. If your regular route includes steep descents, consider testing your calibration on a similar grade before you’re loaded and committed to the trip, since downhill braking puts more sustained load on the trailer brakes than flat-road stops do. Frequent stop-and-go towing, like hauling a trailer through town traffic, also benefits from slightly higher gain than highway-only towing, since lower average speeds mean less time to allow smooth deceleration.
Troubleshooting checklist for weak or no trailer brakes
When trailer brakes feel weak, inconsistent, or absent entirely, work through checks in order of how easy they are to perform, rather than jumping straight to replacing parts.
Check the fuse associated with the trailer brake controller first, since a blown fuse produces symptoms identical to a failed module.
Inspect the 7-way connector on both the truck and trailer for corrosion, bent pins, or a connection that isn’t fully seated.
Use a multimeter or test light at the trailer plug to confirm voltage is present at the brake output pin when you apply the truck’s brakes or trigger manual override.
Note whether the problem is no output at all, low output, or intermittent output, since each points to a different likely cause.
Check trailer-side components: brake magnets for wear, the breakaway switch and battery, and ground connections at the axle.
Watch for ABS or traction control warning lights on the dash, since a fault in those systems can affect how the integrated controller modulates trailer brake voltage.
Community troubleshooting reports one trailer consistently describe the same sequence working best: verify power at the module, check the harness connector and ground, then move to trailer-side checks only after the vehicle side tests clean. That order matters because it prevents owners from replacing trailer brake magnets or an entire axle assembly when the actual fault was a corroded ground wire at the truck’s frame.
No output at all, with a blown fuse ruled out, usually points to a wiring fault between the controller and the 7-way connector, or a failed controller module. Low output that doesn’t change no matter how hard you brake often means a gain setting that’s simply too low, which is a two-minute fix in the menu rather than a repair. Intermittent application, where the trailer brakes work sometimes and not others, is a classic symptom of a loose connector pin or a chafed wire that only makes contact under certain conditions like vibration or a specific steering angle.
A manual override test is one of the fastest ways to isolate whether the fault lives in the truck or the trailer. If you activate manual override and get no voltage at the trailer plug, the problem is almost certainly on the vehicle side, in the module, wiring, or connector. If voltage is present at the plug but the trailer brakes still don’t respond, the fault has moved to the trailer side: check the magnets, the brake assembly wiring, and the ground at the axle. If the issue seems tied to electrical interference rather than a wiring fault, it’s also worth ruling out aftermarket accessories on the CAN bus or auxiliary wiring, since some controller conflicts stem from added electronics drawing off the same circuits.
Manual override: when and how to use it safely
Manual override lets you apply trailer brakes independently of the truck’s service brakes, usually through a slider or lever on the dash-mounted controller or integrated touchscreen interface. Etrailer’s guidance on manual override function confirms that this activation works separately from the truck’s own brake pedal, which is exactly what makes it useful in specific situations rather than everyday stops.
Use manual override when you feel trailer sway starting, since applying trailer brakes alone, without touching the truck’s brakes, helps straighten the trailer out without upsetting the truck’s own balance. It’s also the right tool on long, steep downhill grades, where you want the trailer contributing to braking before you’re relying heavily on the truck’s brakes alone. In an emergency correction, a quick manual override pulse can settle a trailer that’s starting to fishtail faster than easing off the accelerator alone would.
Staged braking, applying the trailer brakes slightly before or along with the truck’s brakes rather than slamming both at once, tends to feel smoother and reduces the chance of the trailer brakes locking ahead of the truck’s ABS-controlled wheels. Since the integrated controller shares data with ABS, sudden full manual override at highway speed can produce a different reaction than a gradual pull, so ease into it unless you’re responding to an active sway event.
Pro Tip: Before every towing trip, do a quick manual-output test at a stop: activate the override slightly and confirm you feel the trailer tug against the hitch, which tells you the system is live before you’re relying on it at speed.
Does your truck have the wiring for an integrated controller?
Not every truck comes pre-wired for a plug-and-play integrated controller, and knowing the difference saves you from a surprise at install time. Installation guidance from Top Shelf Trailers notes that factory-integrated controllers typically require specific pre-existing electrical connectors, and when that wiring isn’t present, a plug-and-play module simply can’t be installed without additional work.
Trucks built with a factory tow package usually include a dedicated connector near the steering column or under the dash, built specifically for a controller module to plug into. That connector carries the brake switch signal, power, ground, and the trailer output lead all in one harness, which is what makes factory installation fast when the provision exists.
When that harness is missing, the same source notes that retrofitting usually means adding a dedicated power feed, a reliable chassis ground, and either a compatible aftermarket controller or a harness kit designed to bring an integrated-style module online. Installers also have to size fuses correctly and add relay protection so the retrofit doesn’t bypass the safety margins built into the factory wiring. Genuine Mopar wiring harnesses and connectors are one option worth asking about if your truck needs this kind of retrofit done to OEM specification rather than with generic parts.
One caution that applies regardless of whether you’re retrofitting or just adding accessories near the controller circuit: CAN bus systems are sensitive to improper splices or added electrical loads. A poorly executed tap into the brake signal line or a ground loop introduced by an aftermarket accessory can trigger false ABS or traction control warning lights, even when the trailer brakes themselves are working fine. That’s one of the more common reasons a home installation ends up back at a shop anyway.
What a professional inspection and calibration covers
Some problems are squarely DIY territory. Others need shop tools and should go to a dealer service department rather than being worked through at home. Module fault codes, persistent ABS or traction control warning lights tied to the brake controller, or wiring issues buried deep in the harness are the clearest signals it’s time to bring the truck in.
A typical professional inspection starts with a module scan to pull any stored ABS or traction control codes related to the trailer brake circuit. From there, technicians can bench-test the trailer’s brake components independently of the truck, measure output voltage at the trailer connector during a manual override test, and verify ground integrity at points that are difficult to check without a lift and the right test equipment. If the harness itself needs repair, whether that’s a corroded connector or a chafed wire inside the frame rail, that’s precision work best handled with OEM-spec parts and proper routing.
Our service department handles these diagnostics and repairs, from a full module scan through harness repair and trailer-side component testing. If you’re bringing a vehicle in for a towing-related concern, it helps to note any recent symptoms, including when the issue started and whether it’s consistent or intermittent, so our technicians can narrow down the cause faster. You can also review our service video library beforehand to see what a typical inspection and calibration process looks like.
DIY calibration or dealer visit: a practical rule of thumb
Here’s the distinction that actually matters: gain adjustment, trailer profile setup, fuse checks, and connector inspection are well within reach for most owners with a multimeter and a parking lot to test in. None of that requires special tools, and doing it yourself before a trip costs you twenty minutes.
Anything involving a stored fault code, a wiring repair inside the dash or frame, or a CAN bus conflict is a different category entirely. These aren’t just harder, they carry real risk of making things worse if you guess. A bad splice into a brake signal circuit can trigger phantom ABS warnings that persist long after the original problem, and chasing that blind costs far more in time and parts than a single diagnostic visit would have.
The honest trade-off: a 20-minute shop scan that pinpoints the actual fault is usually cheaper than a weekend spent swapping parts that weren’t broken. Know your own limit, and don’t let pride in doing it yourself turn into towing with brakes you’re not sure about.
— michael
Schedule trailer brake service at Liberty CDJR
Towing season doesn’t leave much room for guesswork, and if your integrated trailer brake controller needs more than a gain adjustment, we’d rather you catch it before a trip than during one. Our service department handles the full range of trailer brake controller work, from routine calibration to the kind of wiring diagnosis that needs a lift and the right scan tools.
Here’s what we cover for towing-related service visits:
Module scans to pull ABS and traction control codes tied to the trailer brake circuit.
Gain calibration and trailer profile setup for new or recently serviced trailers.
Harness and connector repair using OEM-spec parts and routing.
Trailer-side component checks, including magnets, grounds, and breakaway switch function.
Our service process focuses on straightforward communication and clear explanations about issues and costs. If your truck’s towing setup needs more capability than it currently has, it’s also worth a conversation about trading in your current vehicle for one better matched to your trailer. You can schedule a service appointment directly with our team and get a straight answer on what your trailer brake system needs before your next trip.
FAQ
What is an integrated trailer brake controller?
An integrated trailer brake controller is a built-in module, accessed through the instrument cluster or touchscreen, that applies trailer brakes in coordination with the truck’s own braking system. Unlike aftermarket units, it’s wired directly into the vehicle’s electrical and CAN bus systems rather than mounted as a separate box.
How does an integrated parking brake work?
An integrated trailer brake system reads braking input from the truck, whether through brake pedal signals or CAN bus data, and sends a calculated voltage to the trailer’s electric brakes through the 7-way connector. The gain setting determines how much voltage the trailer brakes receive relative to how hard the truck is braking, and that setting is saved to a trailer profile in vehicle memory, as Ford’s owner documentation describes.
How do I use the integrated trailer brake controller on my truck?
Access the towing or trailer menu through your instrument cluster or touchscreen, select or create a trailer profile, and set the gain level. Start conservative, perform a low-speed test stop around 20 to 25 mph to check how the trailer brakes feel, then adjust gain incrementally until the trailer brakes engage smoothly with the truck’s own braking.
Do I need a brake controller if I have a 7-pin trailer plug?
A 7-pin connector provides the wiring path for trailer brakes, lighting, and power, but it doesn’t control brake output on its own. You still need a trailer brake controller, integrated or aftermarket, to actually send a calibrated signal to the trailer’s electric brakes through that connector.
What’s the difference between factory-integrated and aftermarket trailer brake controllers?
A factory-integrated controller is built into the vehicle’s dash or infotainment menu, with settings saved automatically and no separate hardware to install. An aftermarket controller is a standalone unit that can be moved between vehicles, which makes sense for older trucks without factory wiring or owners who switch vehicles frequently.
Sources
Ford owner manual: Adjusting the Integrated Trailer Brake Controller Mode
Topshelftrailers: Trailer brake controller installation notes